For the past few weeks we’ve been working on designing and building out a site for a client and since selecting Movable Type 4 as the CMS, we thought it would be worth giving the relatively new Virtual MT a try as part of our development process. Although our overall experience using VMT so far has been great, we ran into one small nit: the default site isn’t served from the root URL of the server and instead uses a subdirectory path. This (probably) should be a user-defined option, but isn’t currently, so we set out to resolve this for ourselves.
Let’s be honest — Movable Type has always been a bit of a pain to run on Mac OS X unless you happen to be or know someone well-versed in the black art of the command line and Perl. A black art if you’re a designer at least. This is exactly why VMT is great, particularly if you’re already used to running Windows in Parallels or VMWare for browser testing and debugging.
Virtual MT comes pre-packaged as part of a lightweight Ubuntu Linux OS. Downloading and running an instance (or multiple instances) of VMT is simple and we’ll cover the process using Parallels 4 before walking through the configuration change to allow the default site to be served from the root path of the included Apache web server.
Downloading and Running VMT
Get started by downloading a copy of Virtual MT which comes in both Open Source and Commercial (Pro) flavours. Unzip the downloaded archive and read the included Read Me file. No really, read it.
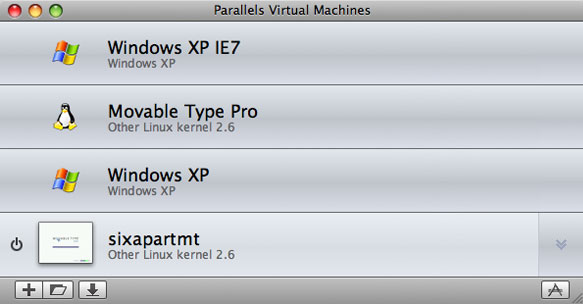
Next, locate the VM Image file for Parallels (or your preferred Virtual Machine software) in the unarchived folder in your Downloads directory. In the case of Parallels, this file should end with a .pvs extension. Double-click the file to add it to the Parallels Virtual Machine library. Parallels 4 will request the VM image be converted to the newer bundle format.
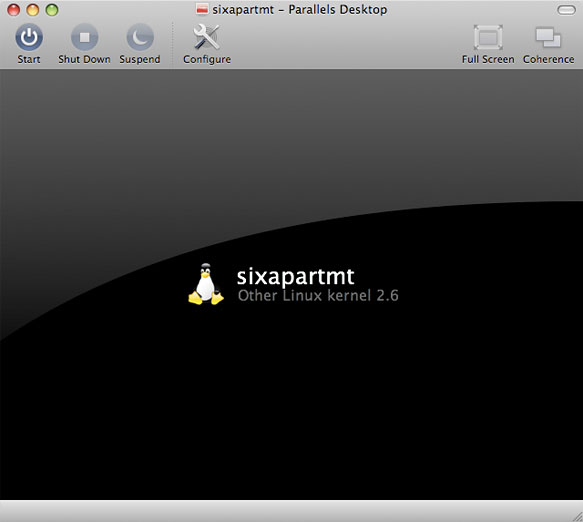
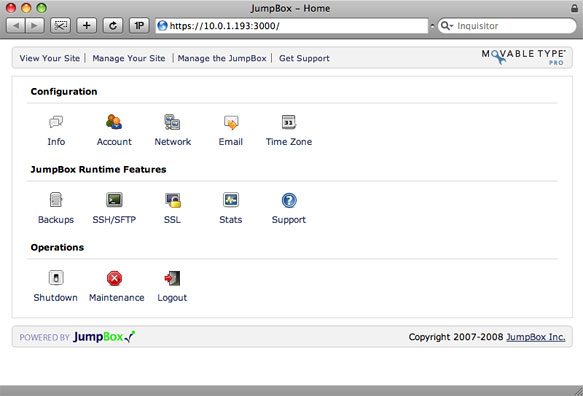
Click on the Virtual Machine and start it. In a web browser, go to the Configuration Page URL displayed in the running Virtual Machine window.
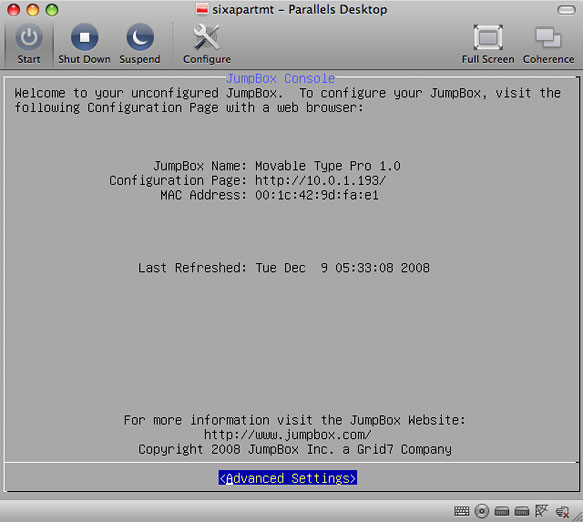
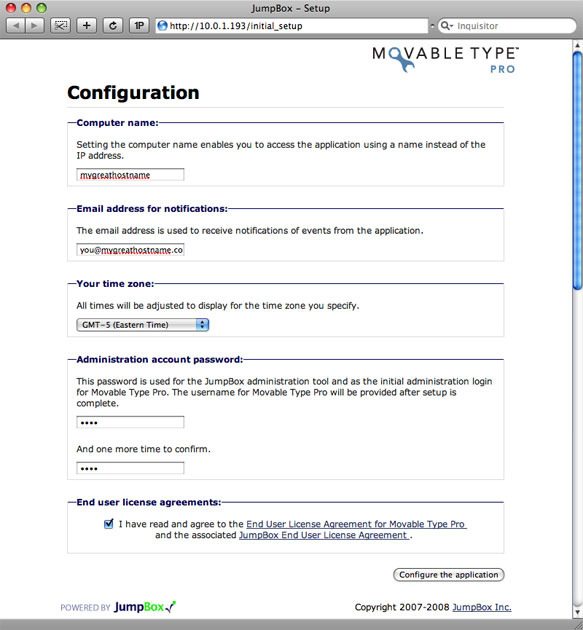
Complete the base configuration to enable access to the VM and Movable Type itself.
Once the base configuration is complete, go back to the main Configuration Page and click on the SSH/SFTP icon. Check the checkbox to enable SSH/SFTP access and then save the change.
At this point you should have a fully functional, ready to customize virtualized install of Movable Type. No mucking about in the command line or Perl module installation required. Next — improving the configuration.
VMT Configuration Changes
In order to “correct” the configuration of VMT, provide access to the VMT install at the root of the included Apache web server and make accessing the MT insall and any published templates easy, you may want to install either MacFuse or ExpanDrive which let you access the virtual OS filesystem just like any other shared disk. Alternatively, Transmit or any other software that supports SFTP connections will also work, though direct access in the Finder is considerably more user-friendly.
And now the nerdy part. To make the necessary Virtual Machine configuration changes, run the following two commands in a new Terminal window. Replace VIRTUAL_IMAGE_IP_ADDRESS with the one provided in the VM window on your computer.
ssh admin@VIRTUAL_IMAGE_IP_ADDRESS
sudo pico /etc/jumpbox/apache2/jumpbox-app
After entering your admin password when prompted, in the pico text editor, change the contents of the jumpbox-app file to match the following:
# Alias /movabletype/blogs /var/data/mt-blogs
Alias /movabletype /var/data/movabletype

<Directory /var/data/movabletype>
  AddHandler cgi-script .cgi
  Options +ExecCGI
  # Uncomment the following lines to enable FastCGI
  # <FilesMatch "^mt(?:-(?:comments|search|tb))?\.cgi$">
  #   SetHandler fastcgi-script
  # </FilesMatch>
</Directory>

<Directory /var/data/mt-blogs/*>
  AllowOverride All
</Directory>

# Uncomment the following lines to enable FastCGI
# FastCgiServer /var/data/movabletype/mt.cgi
# FastCgiServer /var/data/movabletype/mt-search.cgi
# FastCgiServer /var/data/movabletype/mt-tb.cgi
# FastCgiServer /var/data/movabletype/mt-comments.cgi

RewriteEngine on
# RewriteCond /jumpbox/var/widget-on !-f
# RewriteRule ^(/?|/index.(html|php|htm))$ /movabletype/blogs/my_blog [R]
# RewriteCond /jumpbox/var/widget-on !-f
# RewriteRule ^/jblogin.(html|php)$ /movabletype/mt.cgi [R]

# DocumentRoot /var/www
DocumentRoot /var/data/mt-blogs
Save your changes by typing Control-O and then Control-X. To then restart Apache so it will reload the newly updated configuration, type the following in the Terminal.
sudo /etc/init.d/apache2 restart
Updating Movable Type’s Publishing Paths
The last thing that needs to be done is to update the Publishing Path values for each blog instance in Movable Type so content will be published to /var/data/mt-blogs instead of the default location. This is done from the Preferences > Publishing screen in the Movable Type admin interface.
Set the value of Site URL to the IP address of the VM and set the Site Root to /var/data/mt-blogs. If running more than one blog instance, change these values apporpriately. Save the changes and re-publish. And that, as they say, is that. Enjoy!
Note: The current (as of this writing) release of Virtual MT is slightly out of date with the recent 4.23 release of Movable Type though it’s simple enough to update your own base install in VMT.